What is iTop Screen Recorder?
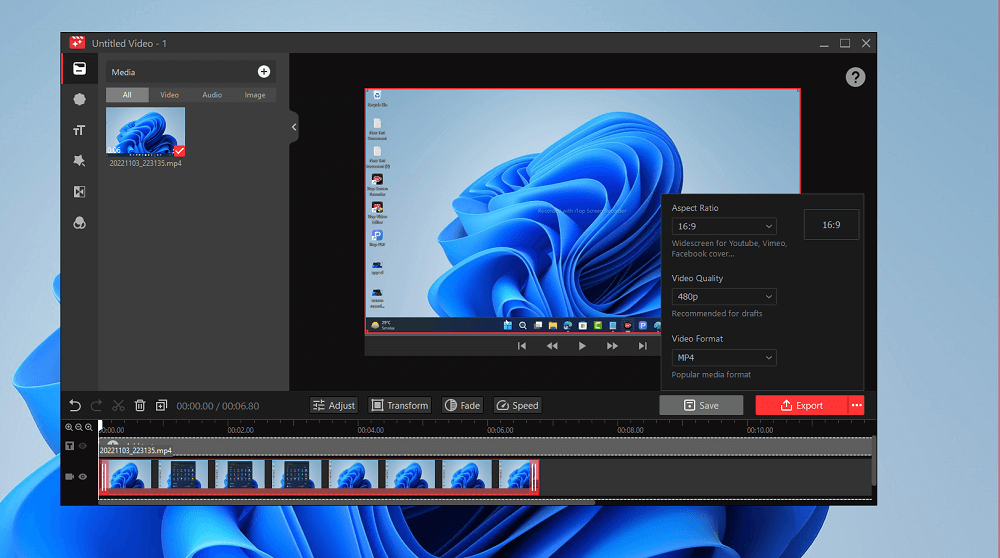
iTop Screen Recorder is a nifty all-in-one screen recorder tool using which you can record everything on the screen. You can later edit these recorded videos and local videos using the native video editing tool. It’s a great choice not only for recording lectures, presentations, games, and conferences, but to make stunning videos using effects, filters, and even more.
iTop Screen Recorder features
Some of the key features of iTop Screen Recorder tool are as follow:
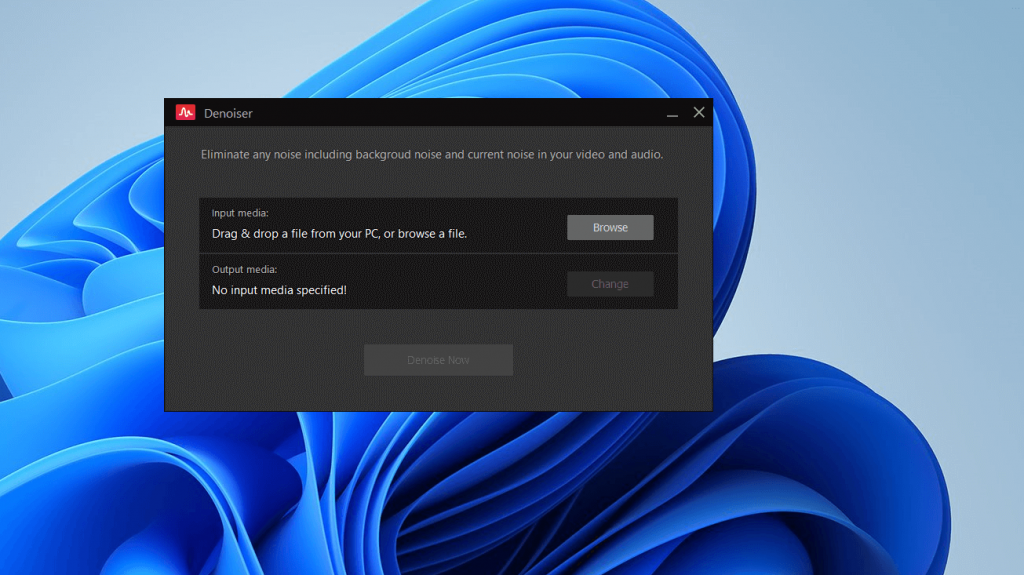
Record high-quality (4K supported) videos from a full screen or a select area. Simultaneously Record Video, Audio, and Webcam Game Recording mode will help you in recording lag-free professional videos It has Redesigned built-in powerful editor tool. From adding-trimming particular sections to adding transitions-effects. It has all the tools. The Denoiser tool eliminates any noise including background noise Record video of any length without a watermark. You just need to uncheck Add watermark option in settings. The ‘Recording Schedule’ feature will let you start and end the recording automatically at a scheduled time. Make videos more attractive by adding doodles to videos that may include Arrowheads, Pen drawings, Oval, Rectangle, and even text. You can add a mouse click effect by adding a mouse click animation and highlighting the cursor. You can save and export video files in various formats that include MP4, AVI, FLV, MKV, MOV, TS, and GIF Offer various hotkeys to access various options while recording the screen or editing the video. After your video is ready, you can directly share the video on YouTube, Facebook, Instagram, Vimeo, Google Drive, and Dropbox. It’s available for Windows 11, Windows 10, Windows 8, and Windows 7.
Apart from the features discussed above, iTop Screen Recorder v3 is more stable and offers a smoother video recording experience, especially when you’re recording a game.
How to Record Screen using iTop Screen Recorder
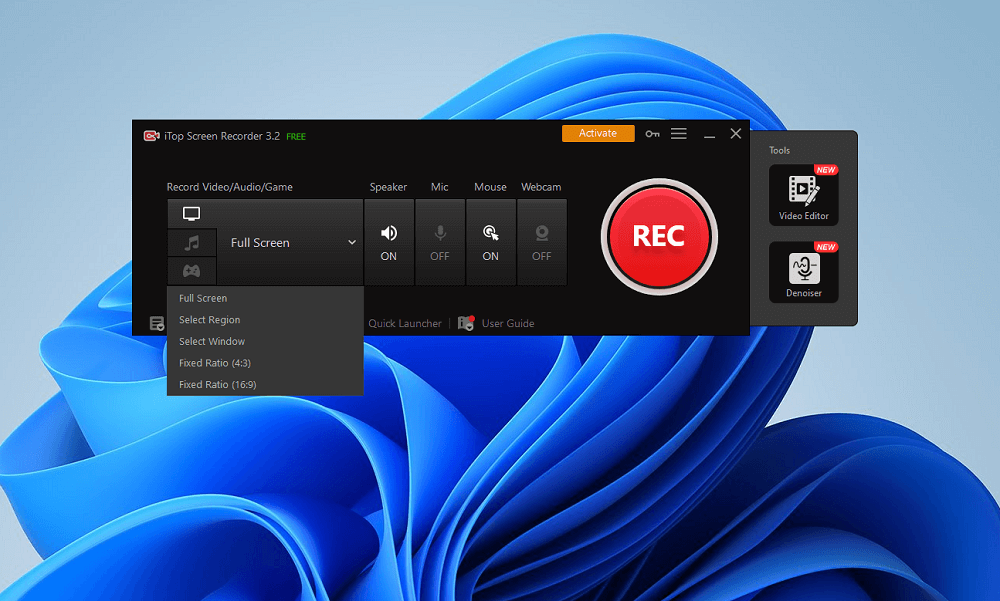
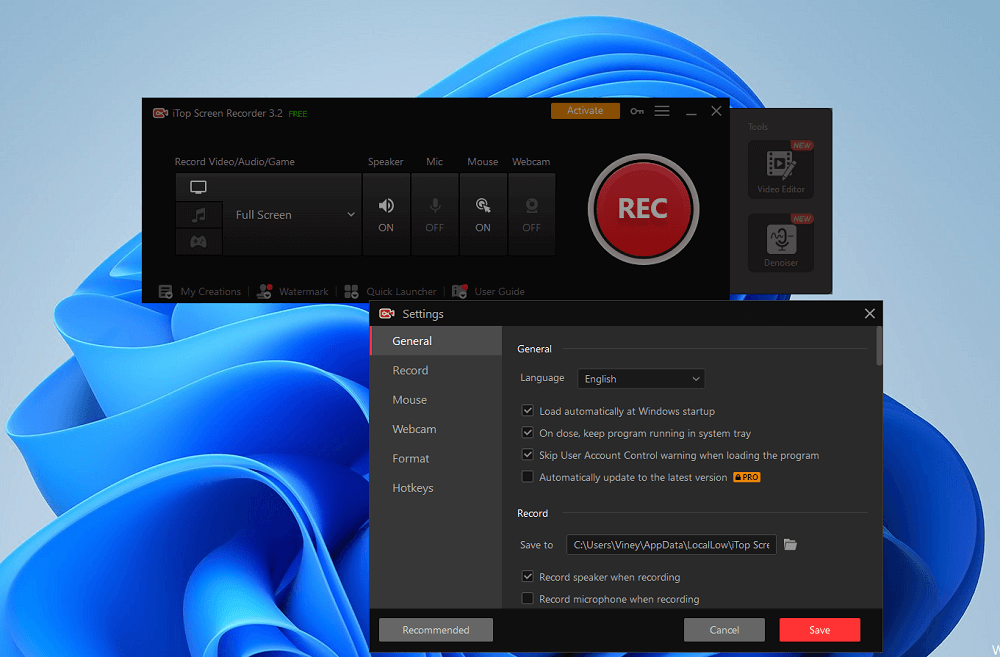
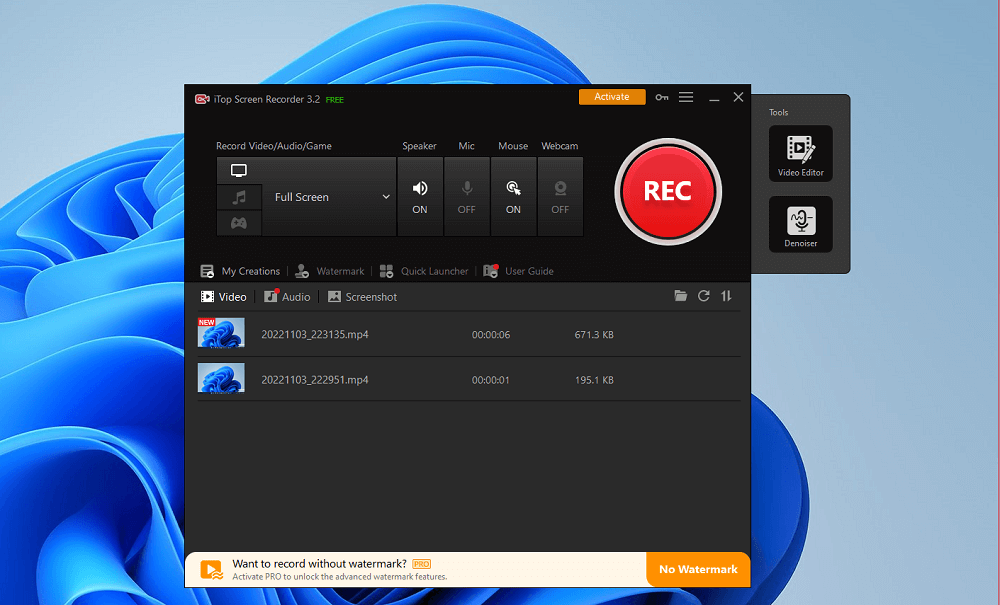
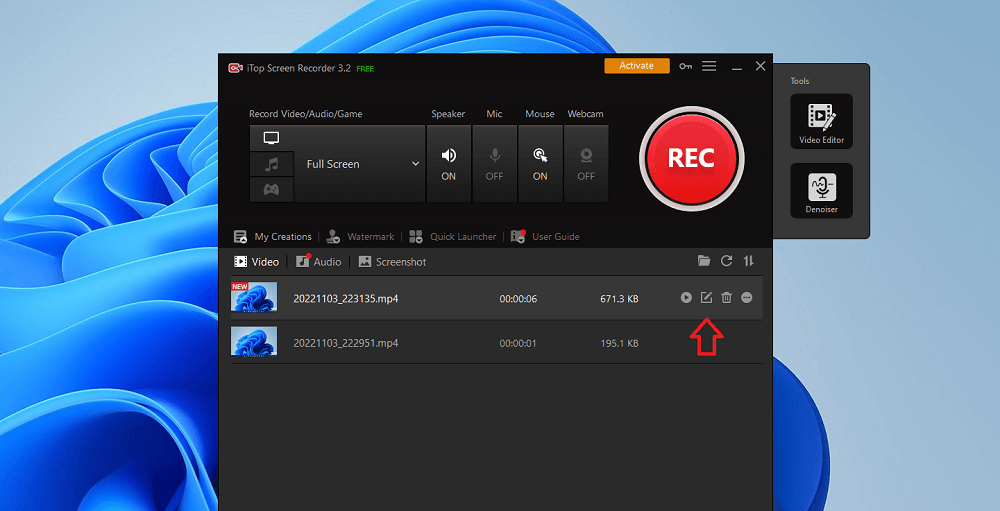
In upcoming lines, you will read step-by-step instructions on how to record a screen using the iTop Screen Recorder Tool. First of all, use this link to Download iTop Screen Recorder. Run the setup file and install the tool on your PC. Select Screen recording preferences. Using the Recording screen option select, Full screen, select region, select window, and Fixed ratio (4:3 and 16:9). Select other vital recording preferences which include; HUD, Speaker, Mic, and Webcam. Apart from this, you can also click on the Hamburger icon available on the upper right corner to access the Screen recording settings menu where you can manage various options. To Start recording, click on the Red REC button and the tool will start recording your activity depending on the preferences you have selected in the first step. Once you’re done with recording click on the Stop button available on the toolbar available on the bottom right corner. Instantly, you will start seeing the recorded videos in the library. To further edit the recorded project, click on the Pencil icon and the project will open in a video editor. Here, you can use the Video editor tool to enhance the recording video according to your choice. Once done, click on the Export button, select Preference in the Export menu, and let the video editor export the project.
Use Denoiser
In case, the audio recorded in the screenplay has some noise, then noise, then you can use the Denoiser tool to get rid of it.
Upgrade to iTop Screen Recorder Pro
The majority of the screen recording and video editing features are available with the free plan. In case, you want to export a project in 4k, record video without a tool watermark, and want to use scheduling recording, then you need to upgrade to iTop Screen Recorder Pro.
Final Words
iTop Screen Recorder is a nifty freeware screen recorder and video editor tool that make it easier for users to record desktop easily and offer professional video editing tools. Although some needed features fall under the pro pack, still the best tool for Windows worth trying.
