Sometimes conditions come when you want to combine two pictures so that you can save yourself from sending the images one by one. The good thing is that you don’t need to be a professional photo editor or require a professional photo joiner to achieve the same.
How to Put Two Pictures Together
Not all the users able to do that because they don’t know the right and easy way. To help those users I decided to write this post so that users can learn the way on how to put two pictures side by side. In upcoming lines, you will read all the possible ways which you can employ to combine two pictures. So without further delay why don’t you start reading the first method:
1. Put Two Pictures Together using Paint
Microsoft Paint is the basis photo editor that comes with Windows OS lineup. It offers all the essential feature required to tweak images. Using the same photo editor, you can also combine two images. Here is how to do that:
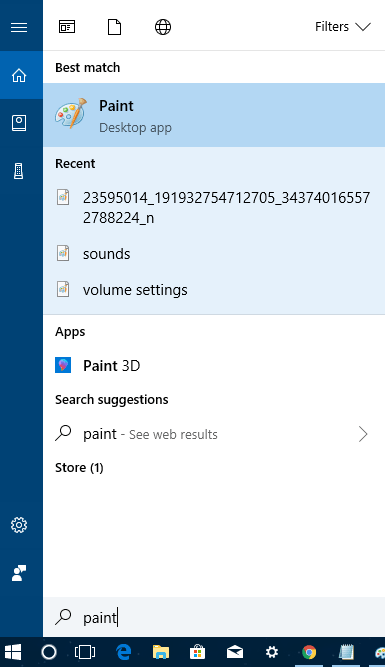
- In the Start menu search bar, search for ‘Paint‘ and when the same result appears in the search result, click to open it.
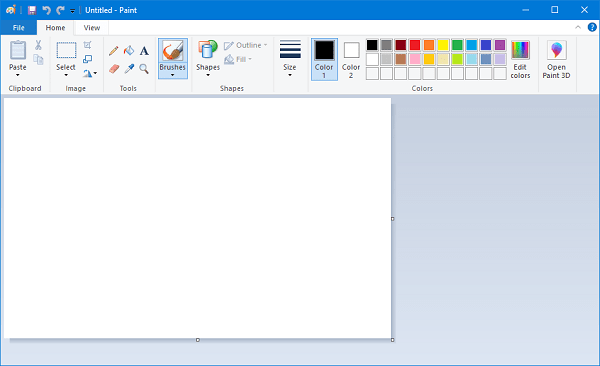
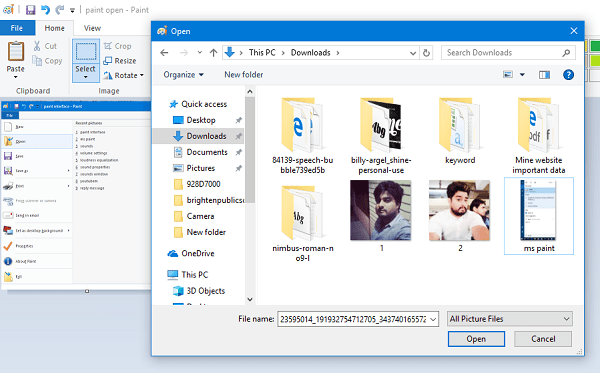
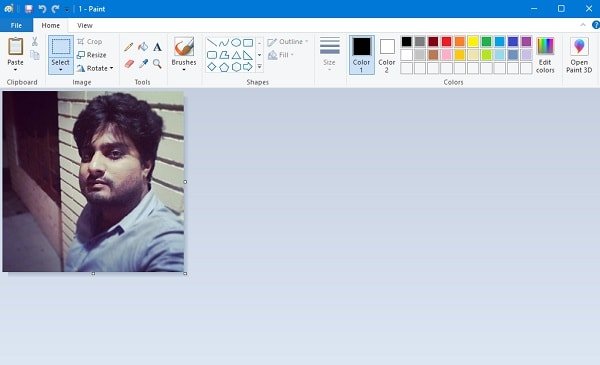
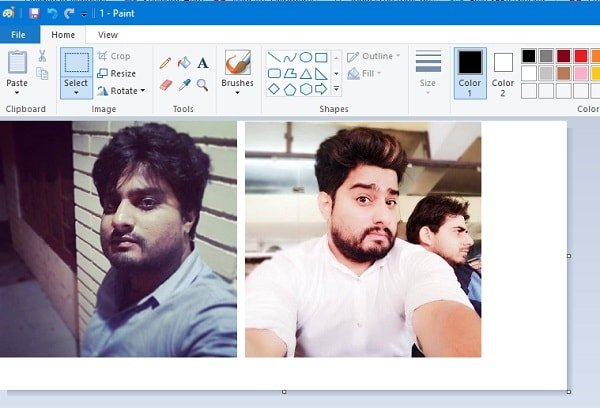
- Click on the ‘File‘ and from the drop-down select ‘Open.’ Now use the ‘Browse window‘ to reach the directory where the first photo is stored and click on the same photo to open it in the paint. This is how the Paint window will look when you open the image. In the screen, you will also notice three small square icons around the border of the photo.
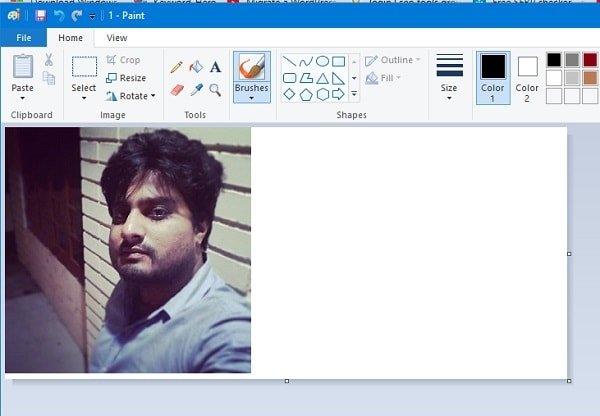
- After that place the cursor on the square icon available on the corner and by holding the left button drag the mouse to increase the size of image canvas to make extra space for the second space. If required, you can also make use of remaining two square icons to expand the area. In case, you don’t have any idea how much space you need, create extra space. Once you have enough space release the mouse button.
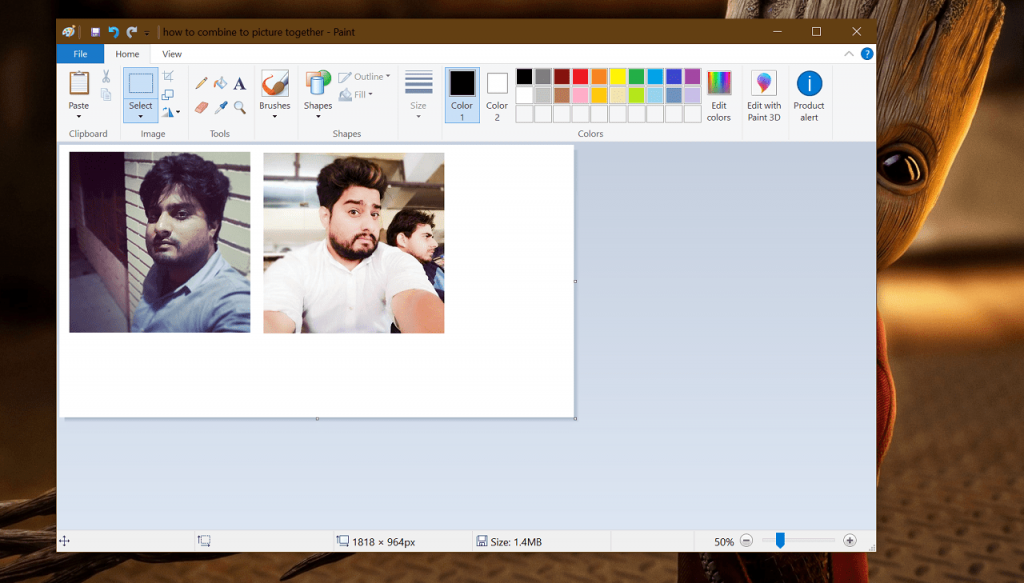
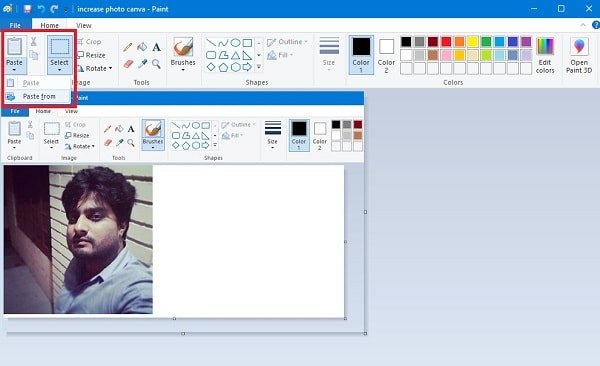
- To add the second image, click on the ‘Paste‘ button (available on the top left side) and then click on ‘Paste from.’ This will launch the browser window; you need to navigate to the directory where you have stored the second image and then open it. The second image will be placed on the first picture like shown the above screenshot.
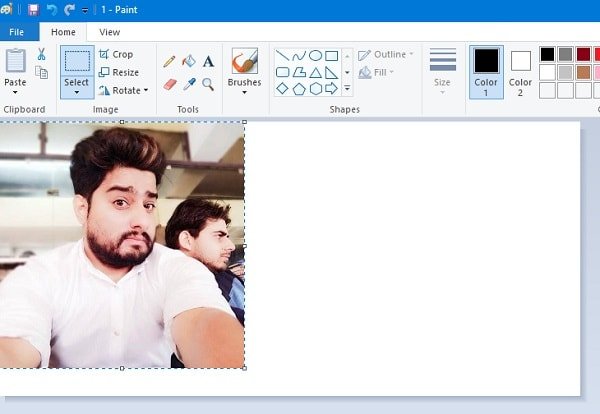
- Place the cursor on the second image, and by pressing the left button on the mouse try to move the image to empty space available on the right side. Once you have placed the second photo correctly release the mouse button. Once done, you can remove unrequired canvas from the final image. You can also make use of other paint features for final touch up.
- At last click on the ‘File‘ and then select ‘Save as.’ Give the new name to photo and save it wherever you want to keep it on the hard disk. Note: You can also save the new photo in JPG, PNG, GIF, BMP file system. That’s it. You can also check video tutorial for clear idea:
2. Combine Two Pictures using Photoshop
In some situation, you not only want to put pictures together, but you also want to edit the image at it best you can take help of Adobe Photoshop. It is an advanced photo editor with a plethora of features which is not provided by MS Paint. So if required make use of it. Using the Photoshop, you can not only combine images, but you can edit the photo to its best. Here is how you can do that:
- Launch Adobe Photoshop program on your PC.
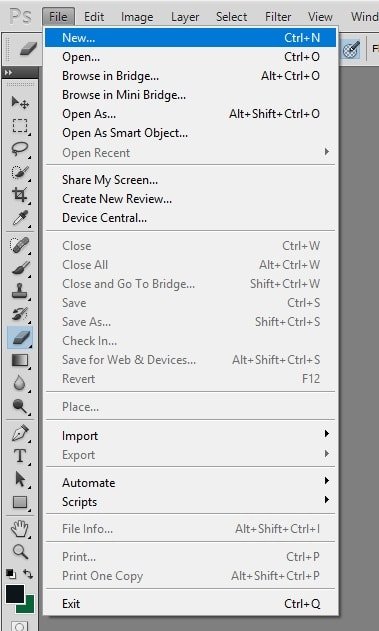
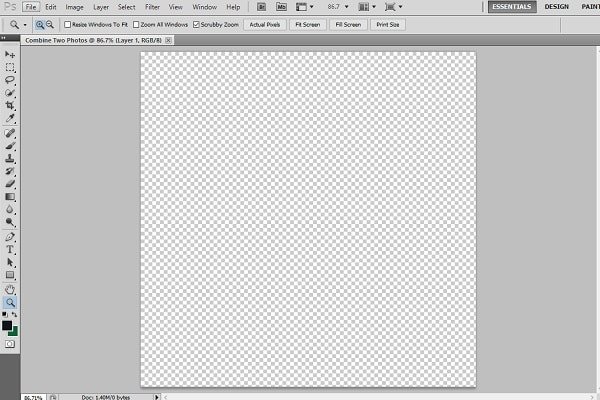
- Click on ‘File‘ and then select ‘New.’ The following window will appear. Here you can give a name to the new file, set width, height, resolution, color mode and background type for the image. In my case, I will go with 700 x 700 pixels dimension as I have two photos of size 300×300 pixel. At a total, both images will consume 600×600 pixels. When you press OK, the new image with your dimensions will be created like shown in the following screenshot: Note: In this example, I’m using a transparent background, you can select white if you want.
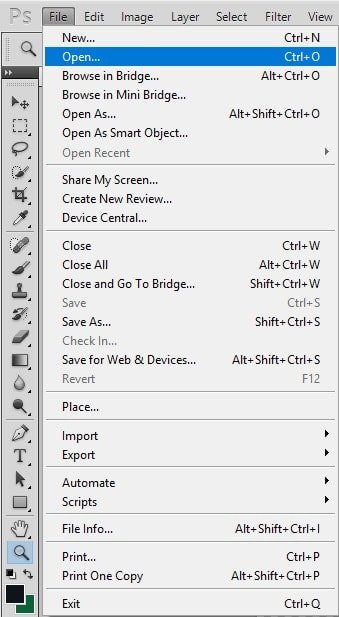
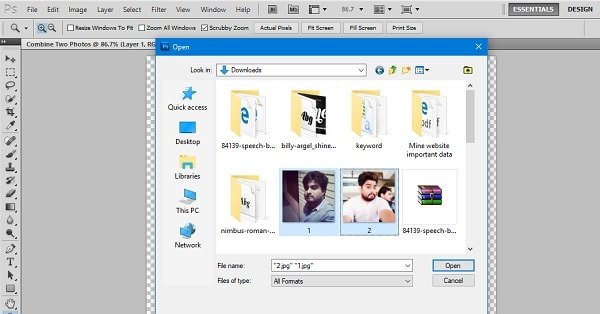
- Click on the ‘File‘ and then select ‘Open‘ this will bring the ‘Browse window,’ here you need to navigate to the location where you have placed both the images. Now hold the ‘CTRL key‘ and select both the images which you want to combine and then click on the ‘Open‘ button. This will open both the images at the same time. Note: You can also open the images one by one if they’re placed in different directories. This will open both the photos just like shown in the following screenshot:
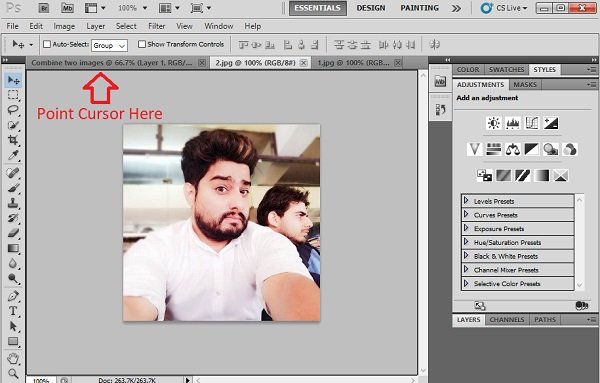
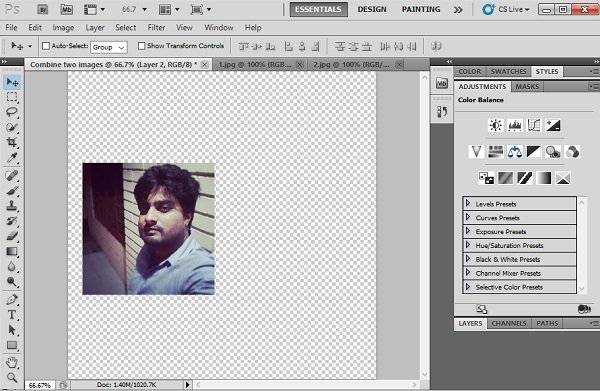
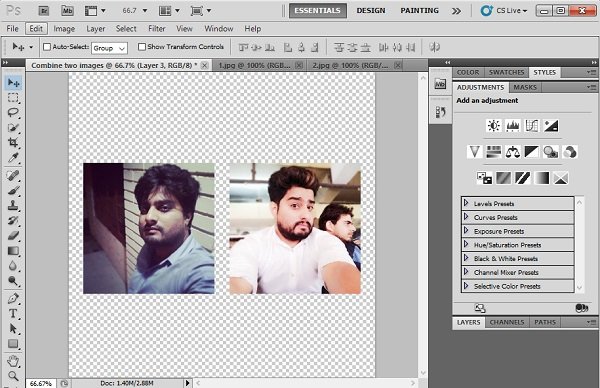
- Now you just need to drag the image one and image two and drop it over the newly created image which we created in step 1. To drag and drop the image, while dragging image point the cursor to the name of the image. This will switch the image and bring the image canvas where you want to the drop. Here drop the image, and it will look like shown in above screenshot. Following the same procedure drop the second image, and you will left with the following screenshot: At this point, you have successfully combined two photos. Now you can do further editing and once you’re done with that too. Just save the file. That’s it!
3. Combine Two Picture using Photo Joiner
There is a useful online service with name Photo Joiner available on the internet. It is very easy to use for instantly combining two or even more images at the same time. So these are the possible and quickest way on how to put two pictures together. Why don’t you try these steps and let me know your thoughts?
